Painting Overview:
Interior Painting
The Foundation of a Professional Interior Paint Job
Every interior paint job — whether it’s a simple refresh or a full corrective repaint — follows the same backbone: prep the surfaces, prime where needed, and apply the topcoats. The level of detail in each stage depends on the finish you want, but these three steps never change. This overview gives the basic flow so homeowners can understand the process before diving into the more detailed pages.
View our three steps to an interior paint job below:

The Three Essentials of an Interior Paint Job
-
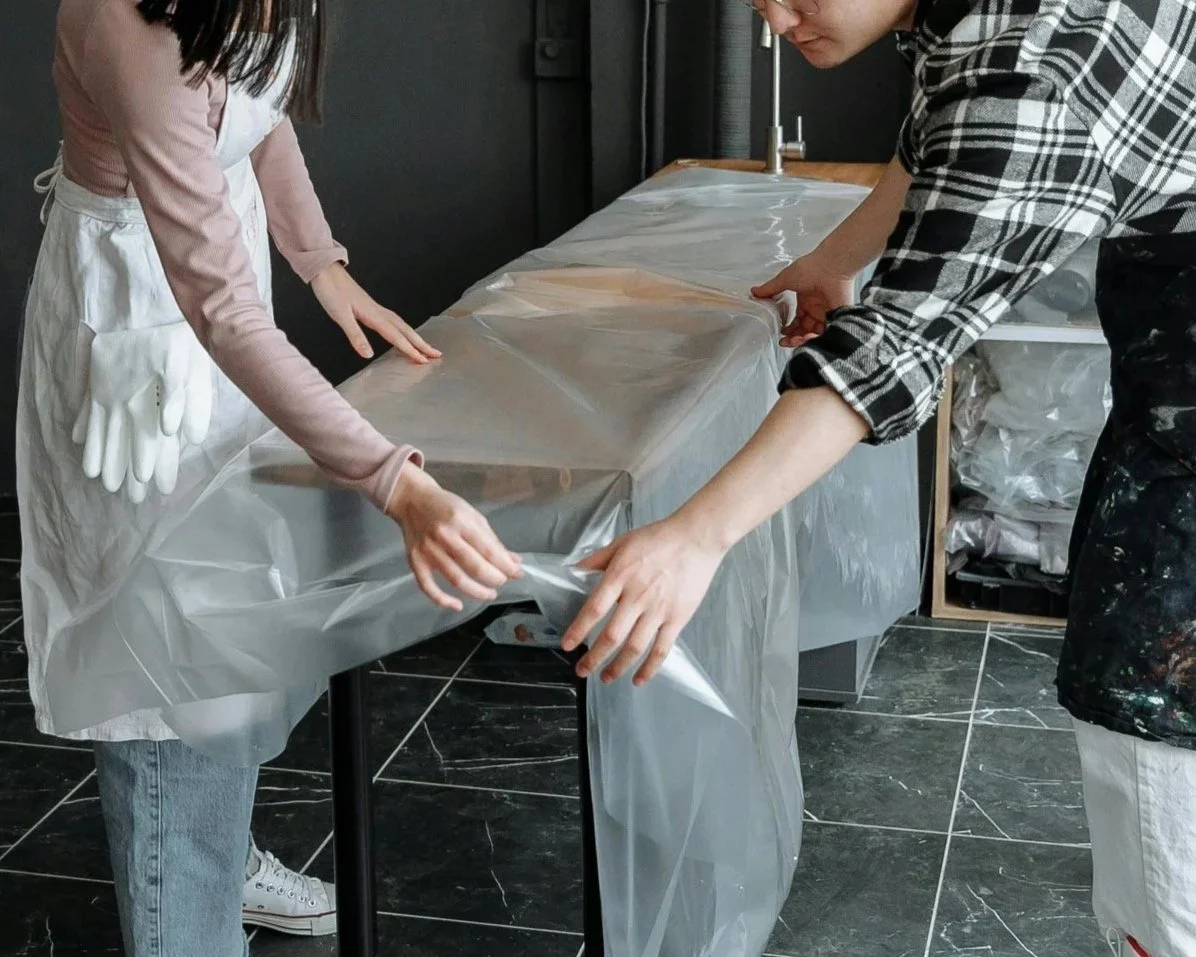
Site & Surface Prep
Every project begins with protecting the home and getting the surfaces ready. Floors are covered, furniture is wrapped, and trim and fixtures are masked cleanly. From there, the walls are prepped based on the finish you’re aiming for — from light sanding and simple nail-hole repairs all the way to full-wall sanding and skim-coating for a smoother, more refined result. Prep is what sets the stage for how good the final finish can look.
-
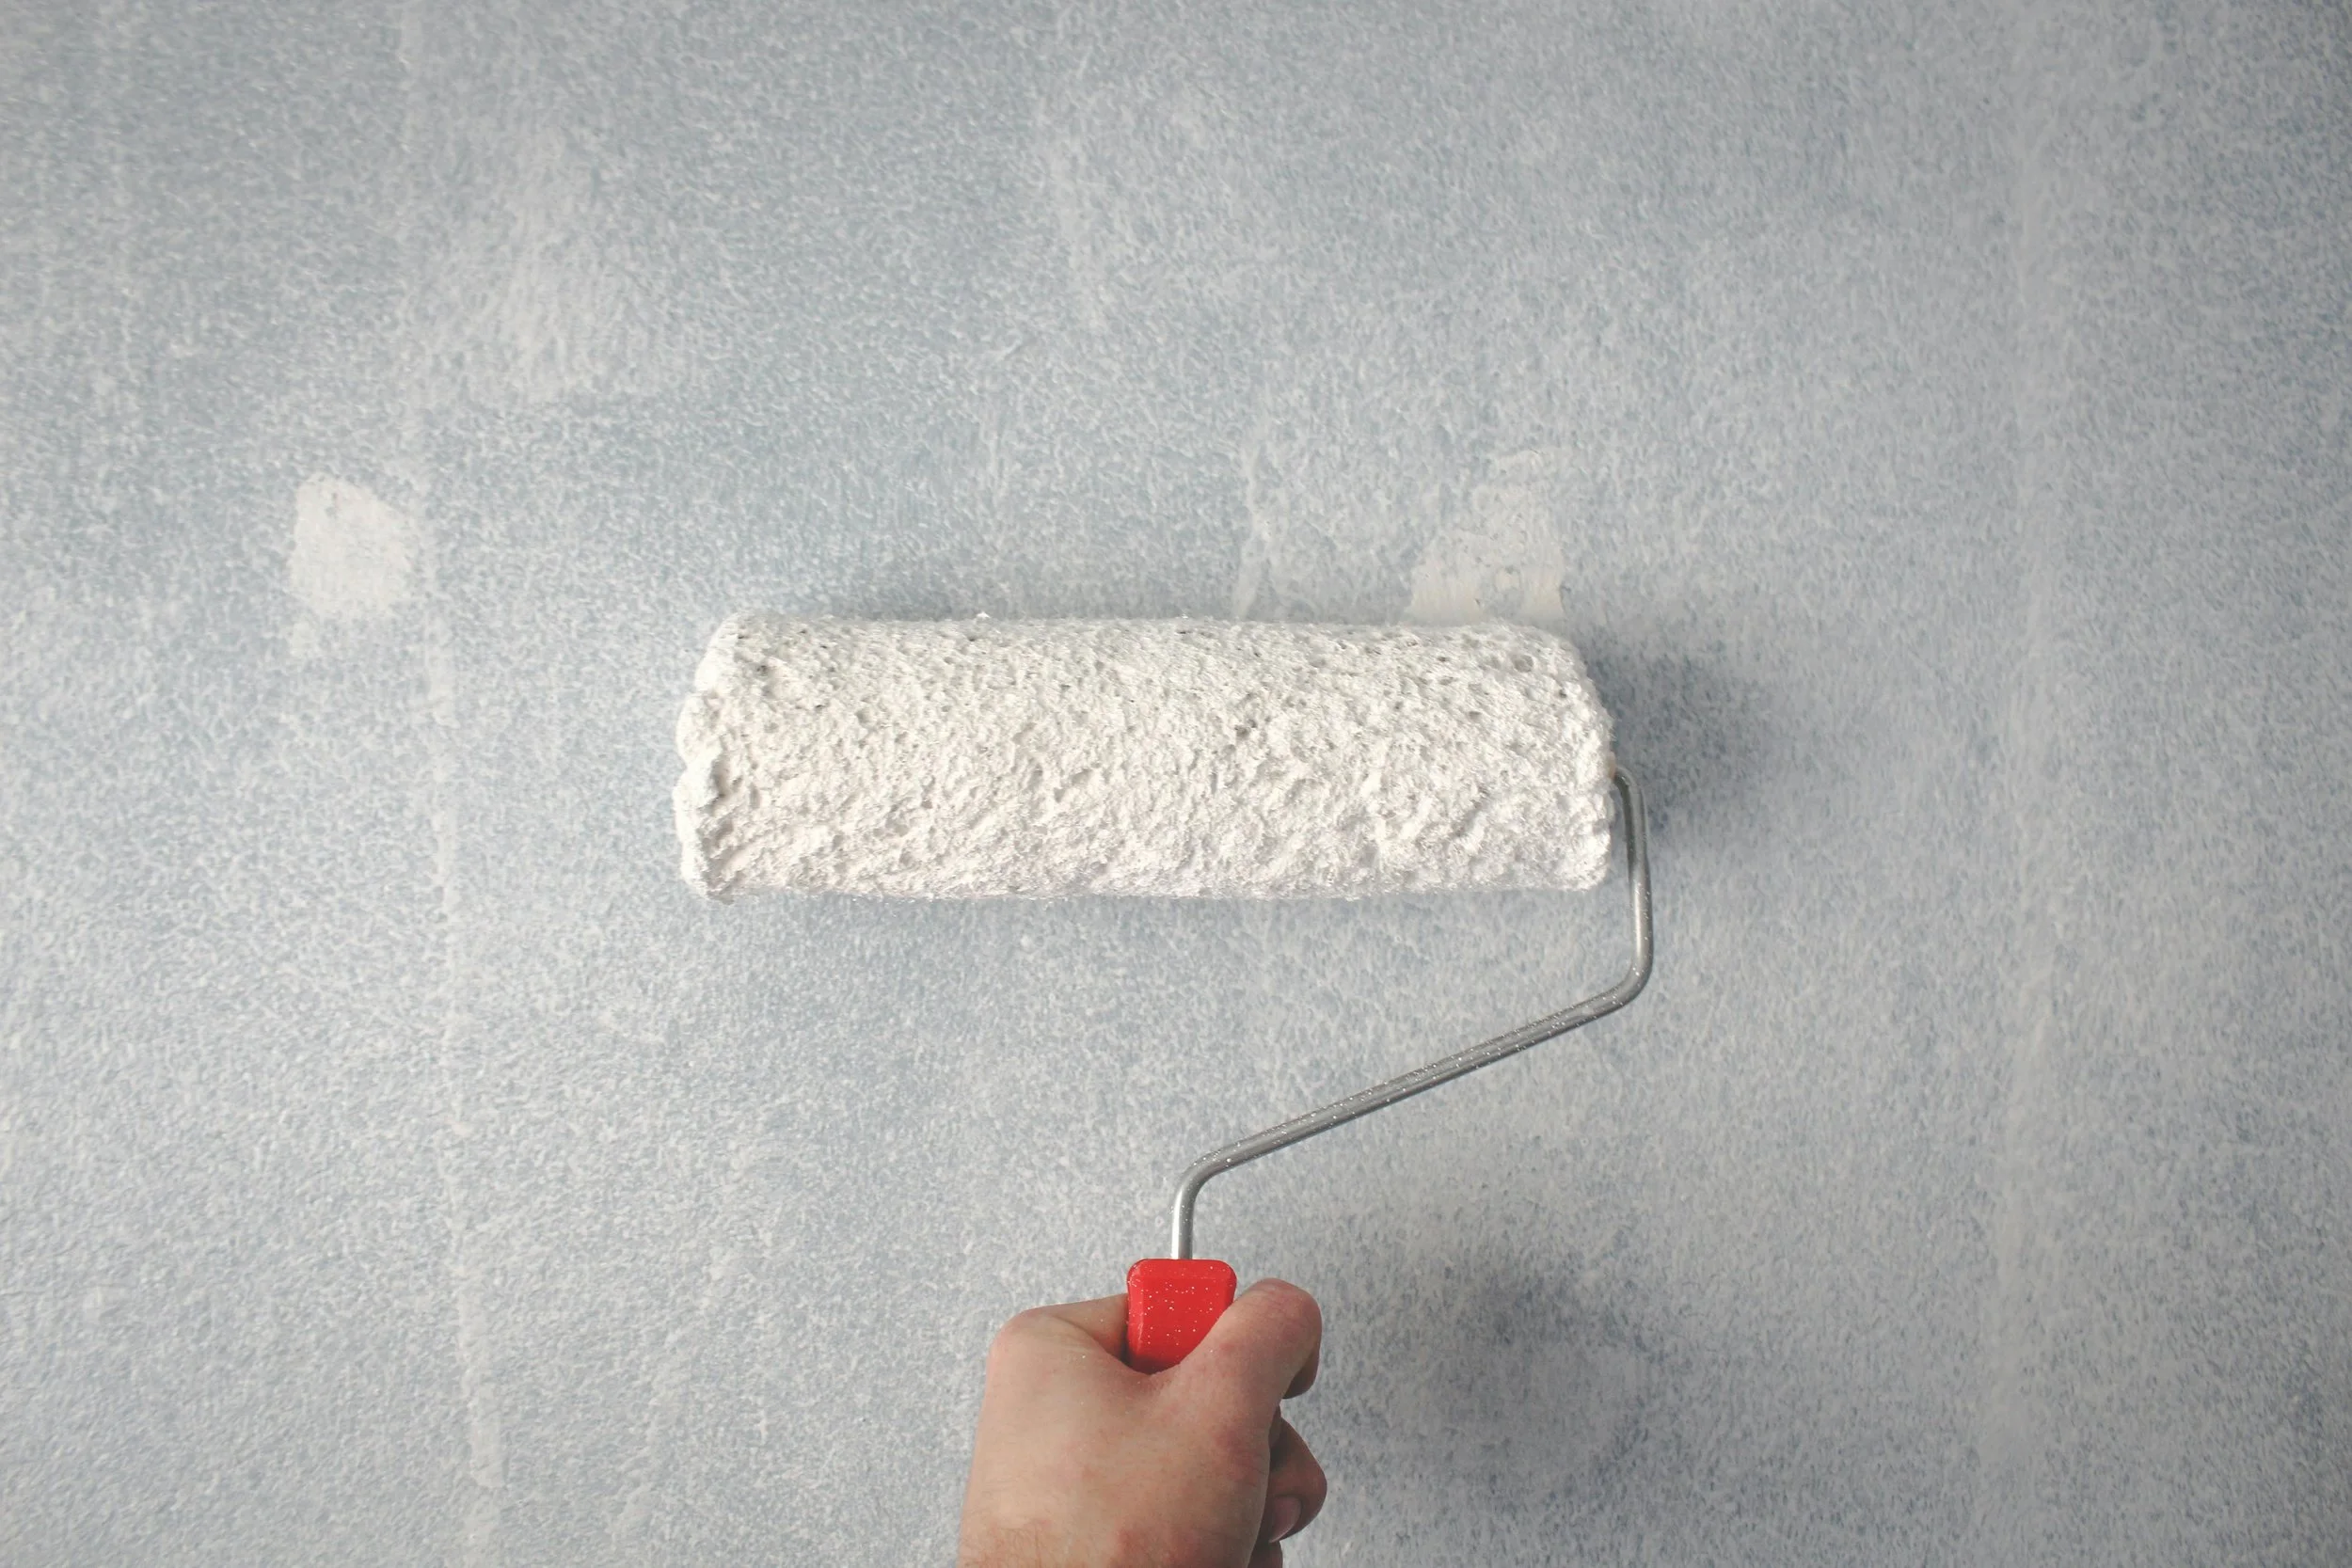
Priming/Sealing
Priming is a continuum, not a yes/no step. Every project needs some level of priming — the amount simply depends on what the walls need. That can be as simple as spot-priming repairs or as involved as re-sealing older walls, managing major colour changes, bonding to difficult surfaces, or priming new drywall and new texture ceilings. Primer makes the surface behave predictably so the finish coats look even and consistent.
-
Topcoats
The topcoats are the paint you actually see and touch — the colour, sheen, and durability of the finished space. They can be applied by brush-and-roll or sprayed for a smoother finish on ceilings, trim, and millwork. The right application method, roller sleeve, and product features come together to create the look and feel you want. Topcoats perform their best when the prep and priming underneath have been done properly.